

Warm weather offers a great opportunity to get outside (If you live where it isn't 100 degrees F +) and do some of those messy projects which you hesitate to do indoors, using products like one of our latest review items, the Rigid Wrap and CelluClay Quik-Sculpting Kit by ACTÍVA Products.
Before I talk about some of the process of our current creative efforts, I want to mention that these products are also good for the older students and creative folks in general (however, I used this with my 10 year old, so that is more what I'll be talking about). There are a bunch of fun things that can be done mixed-media style with CelluClay, an "instant" paper mache, as well as with Rigid Wrap, which is a plaster cloth gauze, similar to what would be used to make a plaster cast for a broken bone. I have used something like Rigid Wrap in the long ago past to make napkin rings (wrapping the plaster cloth around toilet paper tubes that were cut in one to two inch segments). I appreciate that ACTÍVA Products offers this kind of art supply in a non-toxic, non-carcinogenic form, and for those with sensitivities they will be happy to know that the products are also wheat and gluten free.
Alright, on with the review! :)
Youngest had been talking about wanting to make a bowl for some time (One of the project options in his AWANA book last year), so while the timing wasn't perfect for us (Would have loved to do this before he completed his book in May), he was quite pleased to be given the opportunity to make one just for the fun of it.
 |
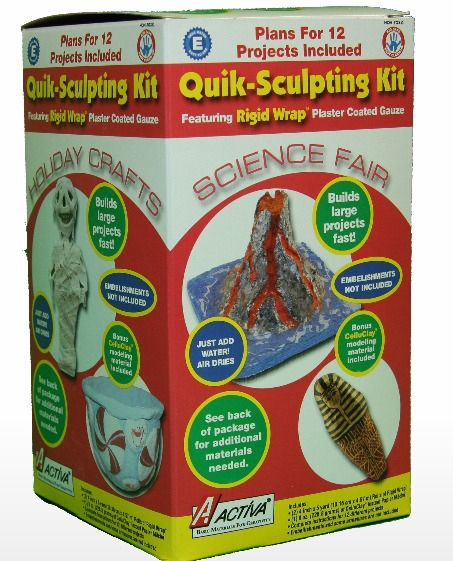
| Contents of kit~ 2 packs of Rigid Wrap, 1 package of CelluClay, and an instruction sheet. Last photo shows that we used about 1/2 of a roll of Rigid Wrap for our project. |

- Step one: Choose a pleasing shaped bowl to use for your model (preferably plastic) and cover well with Plastic wrap.
- Step two: Assemble the rest of your items... scissors for cutting the Rigid Wrap, a vessel for holding warm water, and a work surface. We used a styrofoam tray inside a shallow cardboard box to make clean up on our porch easy-peasy!
- Step three (shown in 2nd picture): Cut Rigid Wrap into workable strips. Since we were covering a bowl, I thought triangles would do the best job, with the fewest wrinkles.
- Step 4: Begin covering the bowl, wetting the strips in the warm water (Styrofoam tray), and smoothing them on~ making sure to overlap some to give strength.
- Steps 5&6: Add at least two more layers on the base layer
- Step 7: Add some decoration if you'd like. We added the wavy line by folding some longer strips of Rigid Wrap and squishing them into a rope when it was wet. *Note... we added a base to the bowl, but it may have been a little too dry by the time we did so, so that doesn't show up in the finished product... it fell off.
- Step 8: Let it dry!!!
- *I will note that the instructions talk about 15 minute drying times, but I think that might be for a single layer, in dry humidity. It was probably 80+ humidity the day we worked on this, and we had three layers~ it still wasn't dry overnight~
- Remedy... we microwaved it for 30 seconds at a time~ it took 2 or 3 times before I was comfortable that it was done.
- Step 9: Paint it! You will see in the finished photo that the inside has a nice texture~ we chose not to dab paint into all the wrinkles the plastic wrap left, and really like the way it turned out!

- Step 10: Coat with a protective gloss (we used Modpodge) and let dry.
Youngest is pretty happy with his final product

While I don't recommend using it for chips or fruits, it makes a perfectly acceptable receptacle for wrapped treats! Youngest is very happy to have something to display his birthday goodies in (and offer them around upon occasion as well...).

Not So Nutty Nitty Gritty

- Company: ACTÍVA Products
- Product: Rigid Wrap and CelluClay Quik-Sculpting Kit
- Ages: Elementary to Adult
- Price: $11.90
Please click the banner below to visit the TOS Homeschool Review Crew and see what others had to say. As always, I hope that this review was useful to you as you choose where best to spend your homeschool budget.
Blessings~


#hsreviews #activaproject

No comments:
Post a Comment
Thanks so much for letting me know you were here. I appreciate "thoughtful" comments. :)