

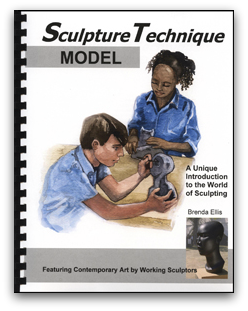
 Many moons ago I reviewed a K-3 manual and a Jr. High manual (2009) for ARTistic Pursuits . I loved using them, and have over the years picked up another manual or two to work through with my children. I was quite pleased, then to be chosen to review one of ARTistic Pursuits ' brand new Sculpture Technique books. We were sent Sculpture Technique: Model, which can be used on its own, but is the second book in the Sculpture Technique series. Other reviewers were sent the first book, Sculpture Technique: Construct (you can access their reviews through the link at the end of this post).
Because my eldest is very interested in art, but has mostly worked with drawing and two-dimensional paperwork, I was interested to see what she would do with this art curriculum.
There are three Units in this book:
- Creating Mass with Putty ~ This unit uses Rock Hard Water Putty as the medium, and talks about Modeling Mass~ Creating a Sculpture from the putty, Creating a Sculpture by layering the putty around a form made with newspaper, Creating a Sculpture with "dynamic mass"(Showing movement), and Painting the Sculpture
- Creating Scale with Clay ~ The basic Material in the second unit uses air-drying clay. The Properties of Clay are covered, and then various methods of making clay forms are given: Pinch Pots, Slabs, Slab with Paper Armature, and Coiling. Each method is followed with design, texture, and decorating instruction.
- Creating Surface with Fiber~ The final unit uses wool fiber, soap and water. Since this is the Unit we worked in, I'll not give a synopsis here, but include the projects in my review. :)
We chose to work in Unit 3 for a couple of reasons~ My daughter is not fond of using clay (she was NOT a playdough sort of kid), or putty, AND I already had the materials required for working with fiber (I've done a little felting myself in the past, and have a fair amount of wool roving in a variety of colors, as well as felting needles, etc...).

Just as an aside~ I haven't done any felting in, oh, probably 15-17 years. Imagine my surprise when I pulled out some of my things, and found this:

Project that was "almost" completed, but not quite!
Whoops! Can't believe that I forgot about that one!
On with the projects that *were* being completed this time around. :)
I need to let you know that Eldest is almost 17~ I let her loose with materials and the manual. I had virtually no input in the process at all.
I supplied her with
I supplied her with
- wool roving
- bubble wrap
- a little tulle
- squeeze bottles (recycled from the kitchen and bathroom~ an old honey squeeze bottle and an old bath gel bottle)
- an old piece of a metal chime (Instead of PVC piping~ hey, whatever works!)
- a couple of rubber bands
- and old towel
- needle felting tool and foam base
- needle and thread
The manual is laid out with step-by-step instructions, drawings, and photos to make sure that the student knows exactly what the plan and the process will be.
 First task in "Wet Felting" was to Create Felt Sheets. The process includes pulling apart wool roving and layering it (which you can see in my above project), "agitating" it with soap and hot water, and applying pressure.
In this set of photos you can see the "application of pressure," a finished sheet (wet), and completed sheets.
 The next project that she worked on was a mix of a couple of things in the book~ The suggested project was a Christmas Stocking, but she decided to go a little more utilitarian, and created a case to keep her sunglasses from getting scratched. She wet felted a sheet, and then followed the "Prefelt Surface Design" directions to add her dragonflies on one side and a flower on the other. She then folded the case in half and used a blanket stitch to put it together.
The felt isn't extremely thick, but will serve the purpose to protect her glasses.
She also Created a Sculpture with the felt sheets. The manual had directions to make flowers, which she decided would make nice embellishments for hats, or as pins.


The next project was a Felted Vessel~ Not sure what it's going to end up being used for, but it was pretty little project anyway.
 Sadly, the last project was a dry "needle-felting" project: Creating Mass and adding Appendages and Surface Design. She was planning to make a Chickadee, and started working to compact the body with our needle felting tool.
 A word to the wise~ Needle felting tools come with different weights/gauges of needles. I wasn't aware of that, and the needle felting tool I had was fitted with fine needles, which were not suited for this sort of project~ She had been working for 15 minutes or so when the needles snapped! :/
I visited all 3 craft stores in our area as well as Walmart, and was not able to find replacement needles. :/ (I know I purchased them locally a few years ago for another project I was doing...) Sad to say, the Chickadee project has been put on a back burner until I am able to purchase replacement needles for my tool. :p
Here is the start of her Chickadee body~
MY GENERAL THOUGHTS
ELDEST'S THOUGHTS Having worked with purchased felt sheets for many different craft projects in the past, she enjoyed this look into the process of creating felt from scratch. One of her favorite things was being able to come up with her own color schemes, and making sheets of felt with a tie-dye effect. She found the manual clear and easy to follow.
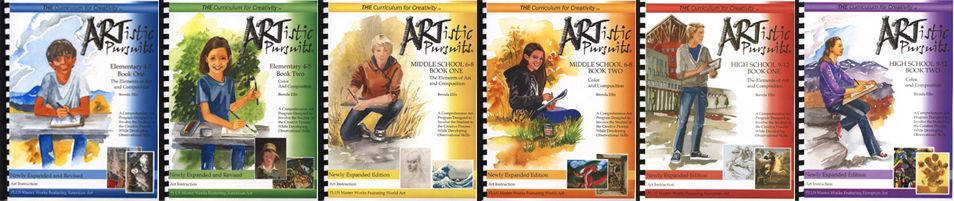
ART SUPPLIES The materials for each unit are listed in the manuals as well as on the webpage. While ARTistic Pursuits doesn't appear to have an Art Supply Pack for these newest books, they do for their other manuals, which is great if you don't already have much in the way of supplies. They give suggestions on where to purchase supplies, and have a special link to Dick Blick if you like one stop shopping, or don't have access to craft/art supply stores.
I highly recommend browsing the Sculpture Technique: Model link below, as there are numerous screen shots of pages from the manual and the table of contents.
Not So Nutty Nitty Gritty
- Company: ARTistic Pursuits
- Product: Sculpture Technique: Model (*NEW book!)
- Ages: 11-18
- Price: $47.95
Some other titles reviewed by TOS Review Crew:
Please click the banner below to visit the TOS Review Crew and see what others had to say. As always, I hope that this review was useful to you as you choose where best to spend your homeschool budget.
Blessings~


The glasses case turned out pretty. I like that you were able to make something so useful. My daughter wants to try felted soap next. Our needles came from Hobby Lobby.
ReplyDelete:) She likes to combine pretty and useful when possible, and since her sunglasses are larger than the norm a regular case wouldn't work.
DeleteWe only have one Hobby Lobby in New England (Or at least within reasonable driving distance~ it's about an hour away, so we have to plan for that trip~ but thanks! We may will look for them next time we head that way! )